Kitchen Work XXIII: Doors of All Sorts
Once the cabinets and counters were all installed, I finished finishing the cabinet doors, cleaned all the sawdust out of the cabinets and reinstalled the lazy susans and doors.

It was so much easier to find where I was starting to put things in the cabinets when they didn't have doors.
Rob (also formerly of Hare Brothers), who has previously done much construction/contracting/home-improvement-y type work has agreed to come and help me out sometimes when he is available. The first project that he tackled was installing the back door in the kitchen.
The first step was to remove the old door.
After that we discovered for certain (we had already suspected) that the resulting hole was an inch or two too narrow and too short. So that led to some demolition.
Luckily (and somewhat unexpectedly) the bricks seemed well attached to each other, so there was no collapsing or extra bricks falling out. Once the door hole was finally wide enough, we fitted the new door in and shimmed it to vertical.
Then Rob attached it to the wall, filled the gaps and installed the knob and lock. The outside isn’t all nicely finished off, yet,…
…but I do have a pretty new back door in the kitchen.
I don’t know if you noticed all the exclamation points and surprise at things working out in this post, but I think that is what comes from expert assistance. 😀
Kitchen Work XXII: Peninsula Counter
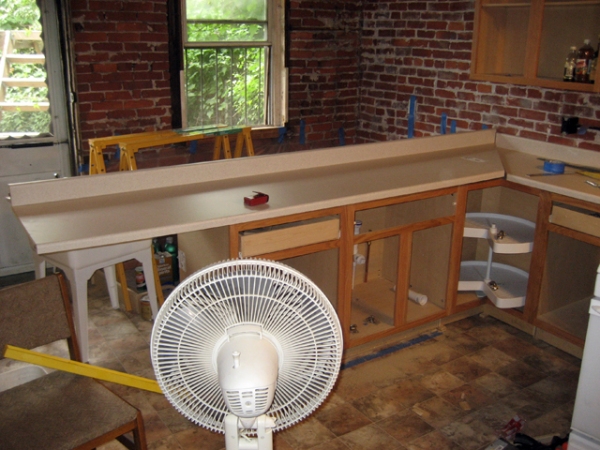
With the all of the base cabinets finally installed in the kitchen, it was time to finish up the counters, too. The fact that it was on a peninsula didn’t change the installation process too much.
I brought the counters in…
…dry fit them, and cut them to length, just like last time (even if it was harder because it was much larger).
At this point, though, I had to do things a little differently. I put the counters back, figured out and marked where the sink would go, took them back off the cabinets and cut the hole for the sink.
Once I had the sink hole, the rest of the counter installation was just like before.
Glue and bolt the miter joint together, glue build-up strips to the ends of the counter so end caps can be installed and sand them flush, bolt the counter to the cabinets with “L” brackets, and viola!
Once the counters were installed, I installed the sink…
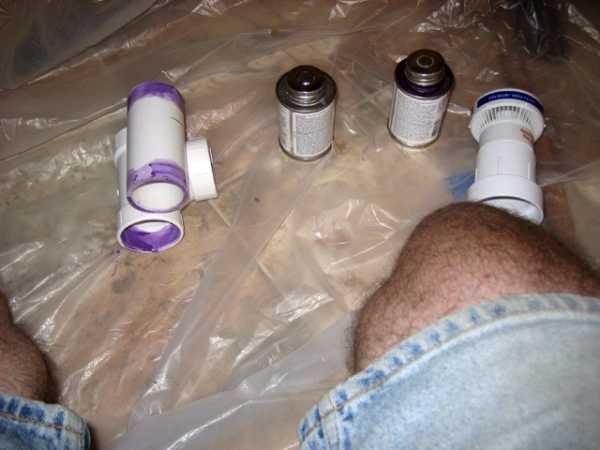
…and hooked up the drain (including a special vent because the sink is on a peninsula),…
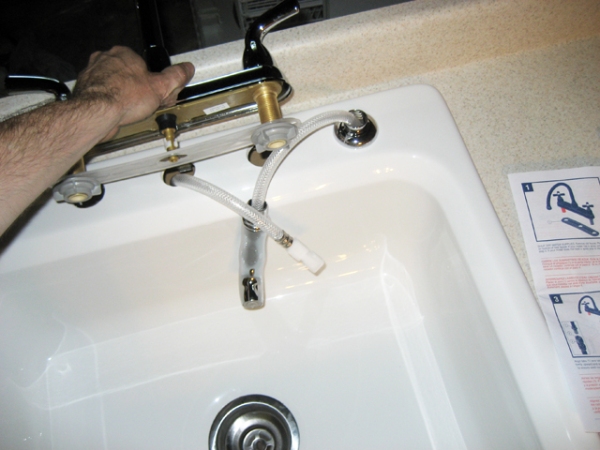
…the supply and the faucet.
(Of course I’m glossing over the bits where I had to make some trips to the Lowe’s because my PVC glue had dried out, the supply hoses I had didn’t fit my faucet and the dishwasher connector didn’t seal water-tight to the faucet, and the fact that I had to install the drain basket 3 different times before it stopped leaking.) But now I have pretty much all the parts of a functional kitchen!
The spaminator
This is a model of the Enterprise visible only via ELECTRON FRICKIN’ MICROSCOPE!
The results of an awesome survey on how men and women name colors differently (or not).
Oh, oh so true. My email is better than yours.
Have you ever wanted to play Tetris with the real world?
Kitchen Work XXI: Peninsula Cabinets
With the first set of base cabinets and counter all nicely hooked together and in place, it was time to focus on the rest of the base cabinets, including the peninsula where the sink would be located. The first two cabinets where just like the previous set, one against the wall and then the corner cabinet, but after that the cabinets just wander off out into the middle of the kitchen with no wall to hook them to. So at that point I needed to figure exactly where it was they would be going.
With the location for the peninsula worked out, it was time to remove the sink (ah the joys of doing without in the kitchen!) and screw 2X2’s to the floor to attach the cabinets to (since there was no wall).
With that in place I made a cardboard template of the plumbing holes, transferred it to the sink base cabinet crossed my fingers and made the holes. And to my shocked amazement, it actually worked.
So I hooked that cabinet to the corner and installed the last peninsula cabinet as well.

Base cabinets all installed. (And see the already installed cabinets and counters in the back there, Jennifer?)
Once that was done, it was time to move on to the counters.
Brad Schoener Memorial Run
Brad Schoener was a music teacher out in a suburb of Philadelphia, and was all by himself, quite the inspiring institution. He also liked to run. So, after he passed away unexpectedly a few years ago a memorial fund was started to provide music scholarships. One of their fundraising events is a 5K fun run in the cemetery where he is buried, with former students of his playing at points around the course. So, since it is within biking distance for me, last weekend I went and participated in it.
It is held in big, old cemetery. There are lots of shady trees, and it was 5 or 10 degrees cooler than Memorial Day, which made for a much more comfortable run. It was also a two loop run (or one loop walk) which, while it did make for a crowded second loop, also gave a preview of the last half of the course, which was fun.
So I had a really fast run: 17:52 (5:45 pace) and came in 2nd place (1st in my age group).
Yay, what fun!


